

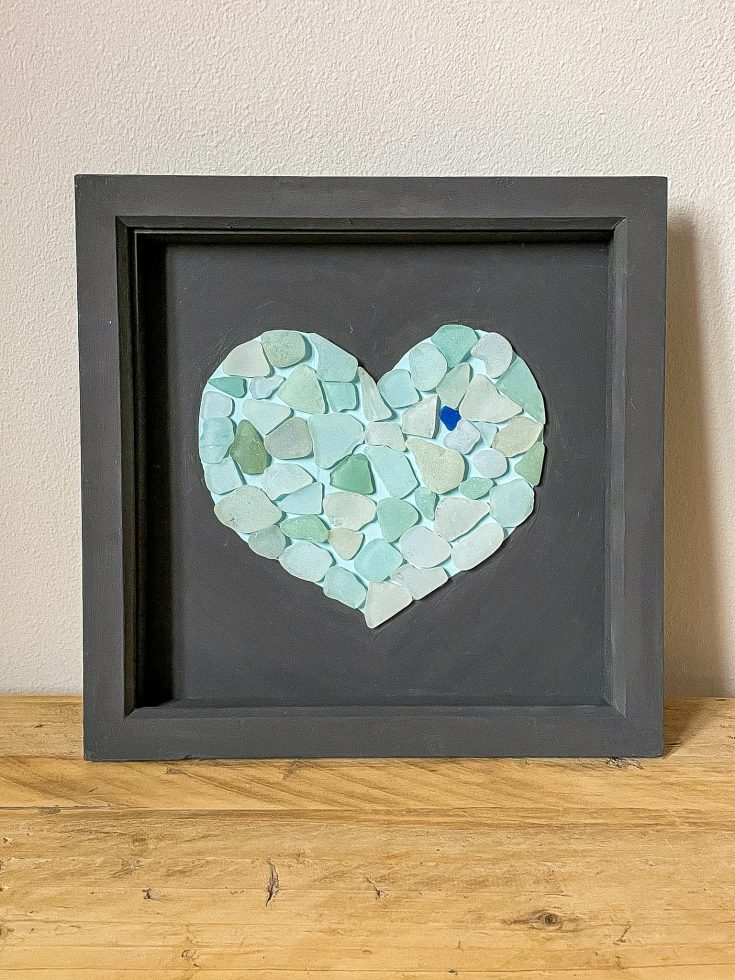
Feature your favourite colors of collected sea glass from clear natural seaglass, pale blue, pale green plus a tiny piece of dark blue.
What is Sea Glass and where can you find it?
Sea glass is small pieces of glass that have been tumbled in the sea, softening the sharp edges so they are no longer sharp to the touch. Beach glass is frequently found as white and green due to the popularity of transparent and green glass bottles, but it is always fun when you stumble across a piece of red or dark blue.
Some beaches are more prone to sea glass than others, it’s a case of checking different beaches out and looking carefully, particularly along the tide line.
Can you buy Sea Glass?
Don’t worry if you don’t live anywhere near the coast, some people collect sea glass and then sell it on on sites such as Etsy as authentic sea glass. You can also buy fake sea glass, where glass has been tumbled to create the softer edges in coloured glass pieces. You can even make your own homemade sea glass for your glass art project.
Love collecting sea glass like us? Then I have lots of ideas and seaglass projects to inspire you from seaglass jewellery, to seaglass mirror frame, sea glass home decor, sea glass bowl, to a sea glass lamp, to sea glass Christmas trees and sea glass Christmas decorations.
How to make sea glass art picture
Materials:-
- Box frame,
- Chalk paint,
- Acrylic paint,
- Sea glass,
- Glue gun
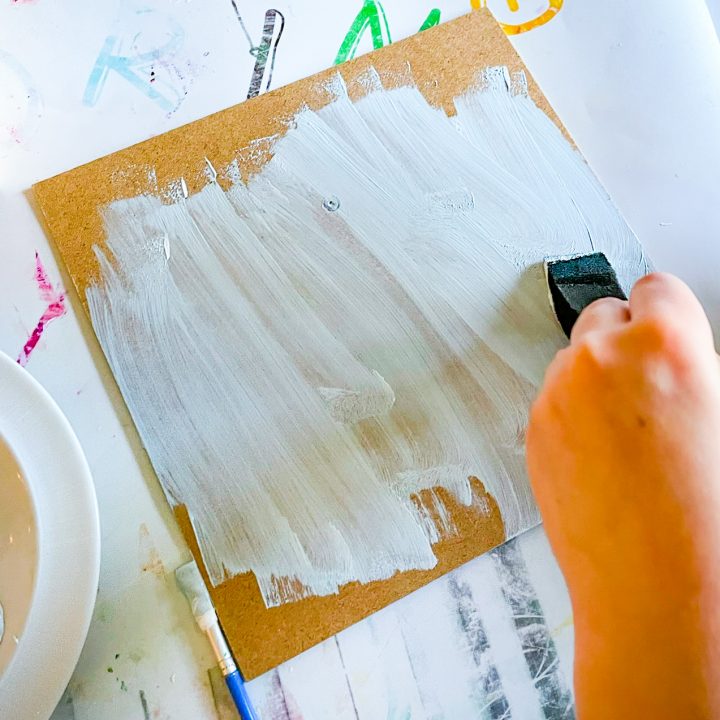
Step 1– Paint the base of the frame with a pale blue acrylic paint, you may need to apply two coats to get a lovely even finish.
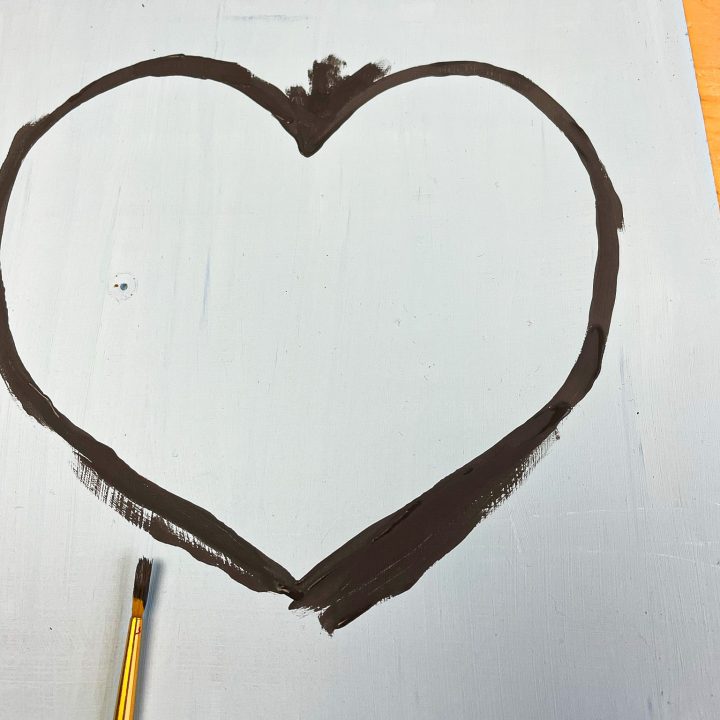
Step 2 – Once this is fully dry draw the outline of a heart onto the base. I chose to make a stencil, folding a piece of paper in half and cutting a heart shape in order to obtain even sides.
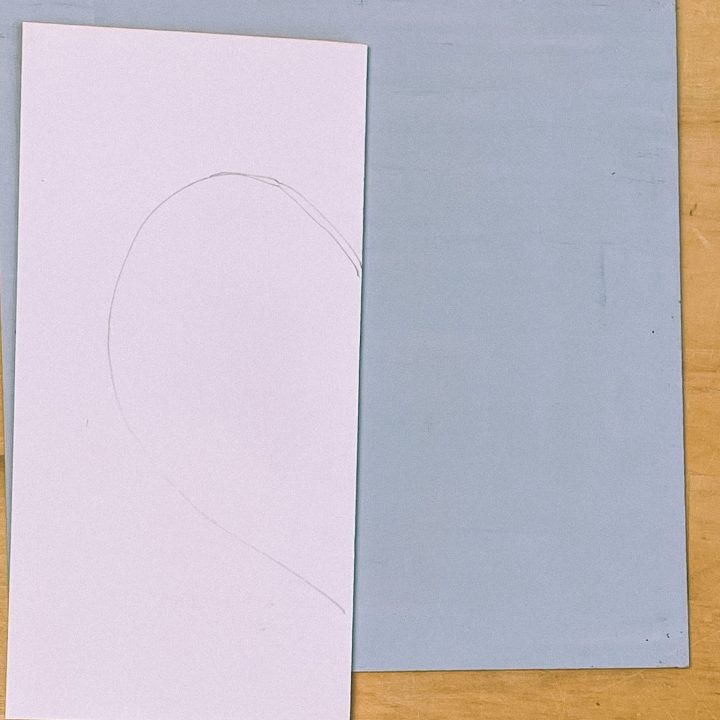
The heart will remain the base pale blue colour, painting the background graphite.
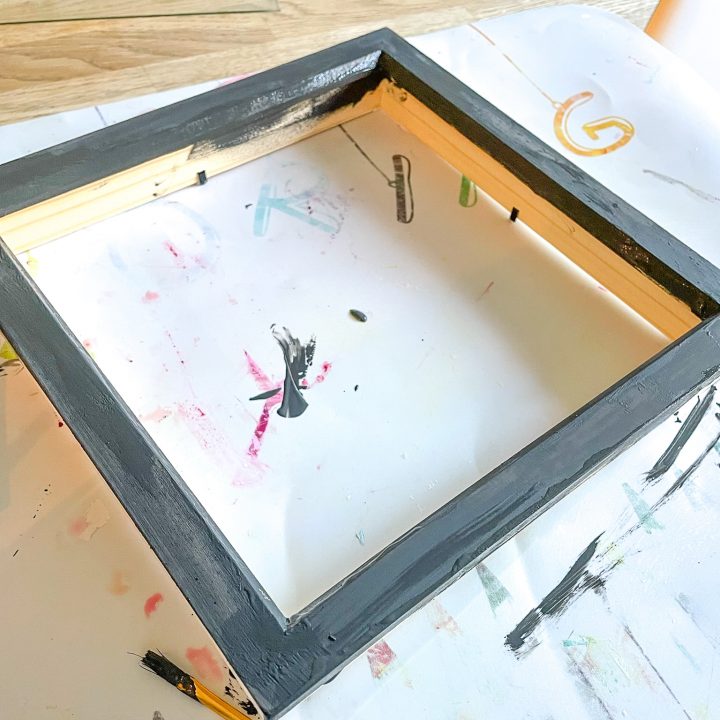
Step 3 – Once you are satisfied with the heart shape paint the frame and the background with chalk paint. I chose to work with chalk paint as you do not need to prime the wooden frame. I am using the graphite from Rustoleum, a dark grey.
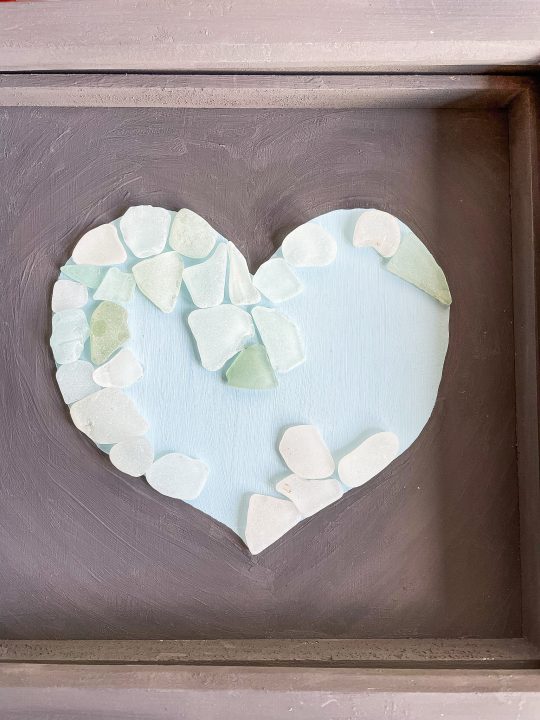
Step 4 – Now for the fun part, arranging the sea glass pieces onto the heart shape on the base. I found it easier to start with pieces along the edge of the heart and then in fill. Arrange all your sea glass before you start to glue down, so you can rearrange if need be.
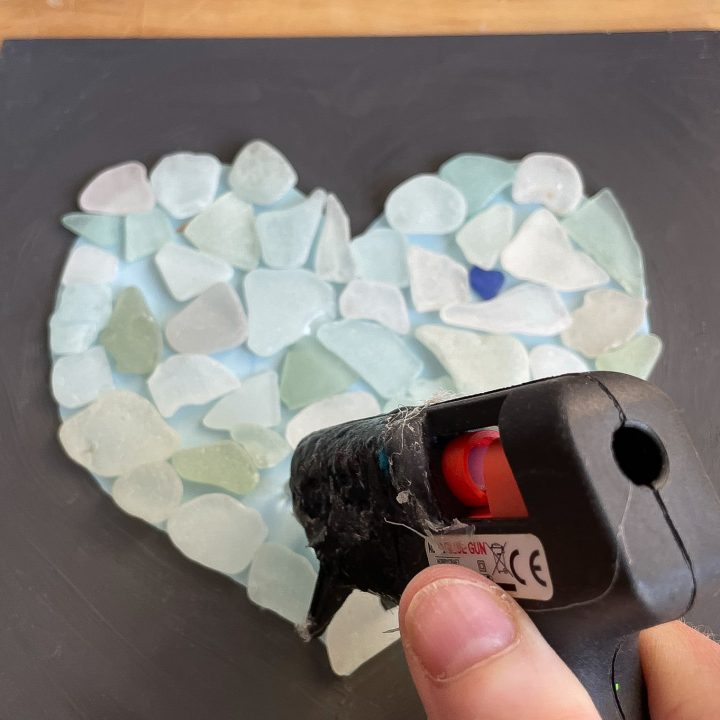
Step 6 – Lastly adhere the sea glass to the base with a glue gun or string alternative glue.

I hope you enjoy making your own beach glass art picture can a great way of showcasing your beach sea glass collection.
Looking for more ideas, then check out my round up of 30+ sea glass crafts.
