
There are two methods for how to put lining in a bag, turned out and drop-in method.
For both methods, you need to make your external bag, and then your lining bag. For the drop-in method, they are identical, for the turn through method you need a 5″ turning gap in the base of the lining.


Sometimes bag lining can be a little baggy. A great way to prevent this is to use the exact same seam allowance at the top of the sides so the inner and outer bag is the exact size, but as you sew down your side seam make you seam allowance slightly wider, therefore making the lining fractionally smaller than the outer bag.
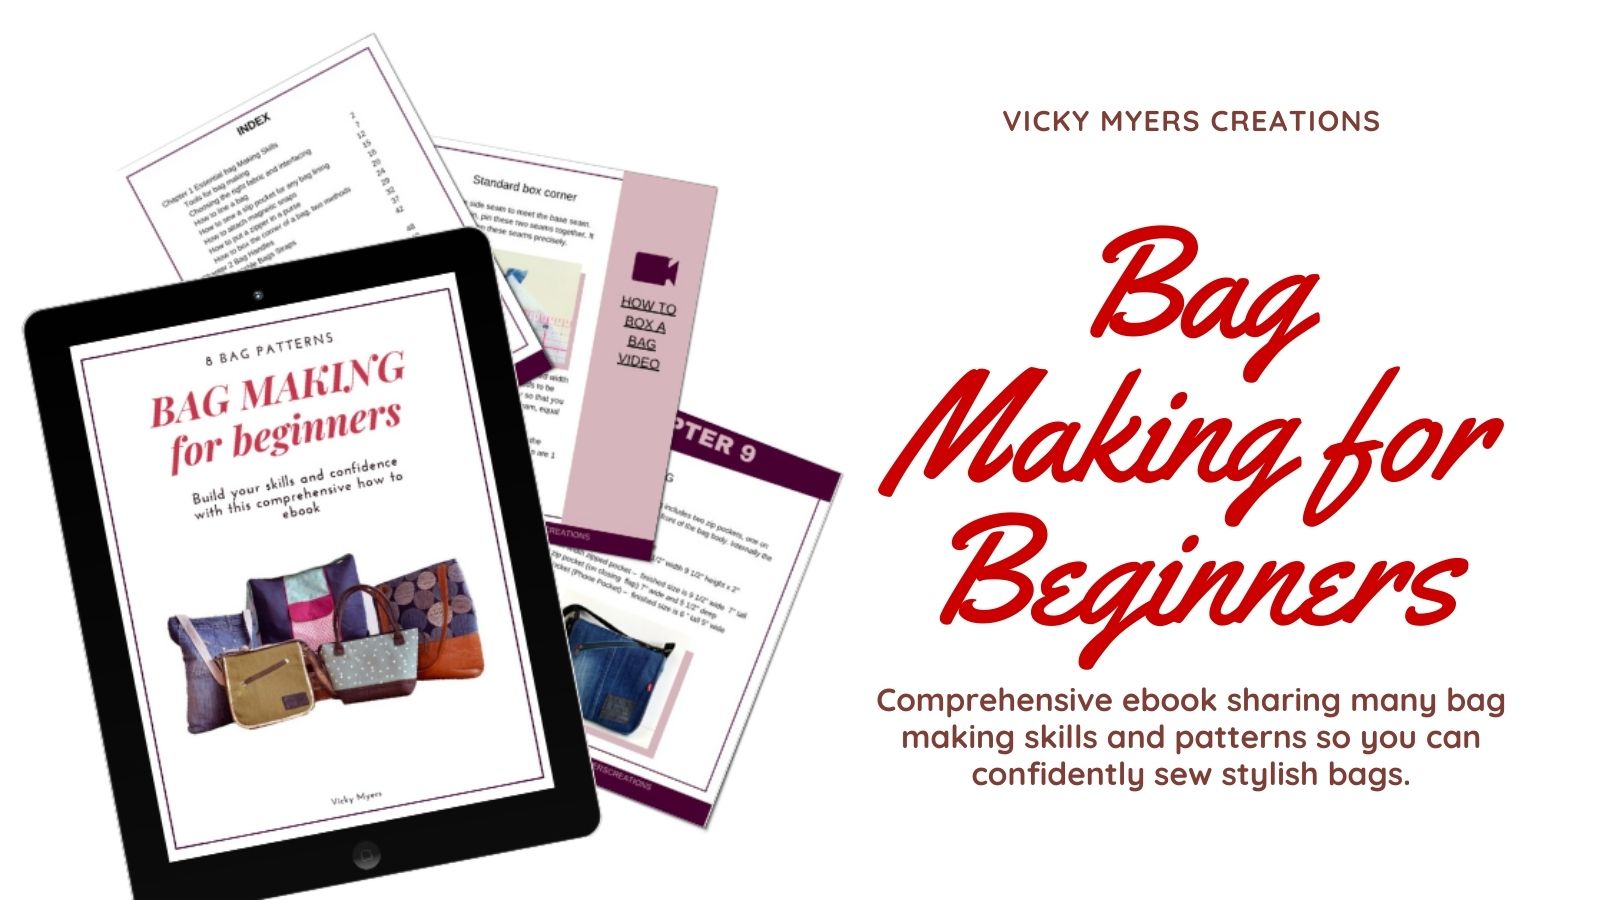
Personally, I am rather passionate about bag making – if you are new to bag making I have the perfect free Beginners Bag Making Course for you which covers so many essential skills for bag making, and includes many free bag tutorials. Alternatively, an Ebook Bag Making for Beginners.
Drop-In method for lining a bag
Stitch your outer bag, and your lining as discussed above make your lining fractionally smaller. Press the side seams open.

Fold over the top of the bag 1/2 seam allowance and press. Repeat for the lining.

Place the lining inside the outer bag inside the lining bag.

Pin or use clover clips all around, you are going to stitch along the top of the bag. Keeping the sides seams pressed open will help your sewing machine cope with the bulk (as does stitching slowly with a long stitch).

Turned out method for lining a bag
As with many bag patterns sew the outer bag, and sew up the lining bag but when you sew up the lining leave a turning gap along the bottom of the bag, approximately 5″ long.


Place your outer bag inside the lining bag, right sides facing each other. Check the fit (alter the side seam of the lining if required for a snug fit). Pin all around then stitch all around, ensuring seam allowances are open at the sides of the bag.

Open out, press as the seam you have just stitched.

Place the lining inside the outer bag and press the top seam again. Pin all around and topstitch.

I strongly suggest a long stitch, and machining slowly to help your machine cope with the bulk of fabric (particularly if you have a bulky bag stabilizer such as Annies Soft and Stable in the bag.
Lastly, pull the lining back out, fold the raw edges in and then topstitch the folded-in edge.

The most common form of lining is turning through.
Personally I am rather passionate about bag making – if you are new to bag making I have the perfect Beginners Bag Making Course for you which covers so many essential skills for bag making, and includes many free bag tutorials.

Pamala
Monday 22nd of November 2021
This was easy to understand and a real help. I’ve actually done both methods before but it’s been awhile and I needed a refresher. Thank you.