
This is a super easy project, making the most of scraps of wood. You can customise the size to fit your space.
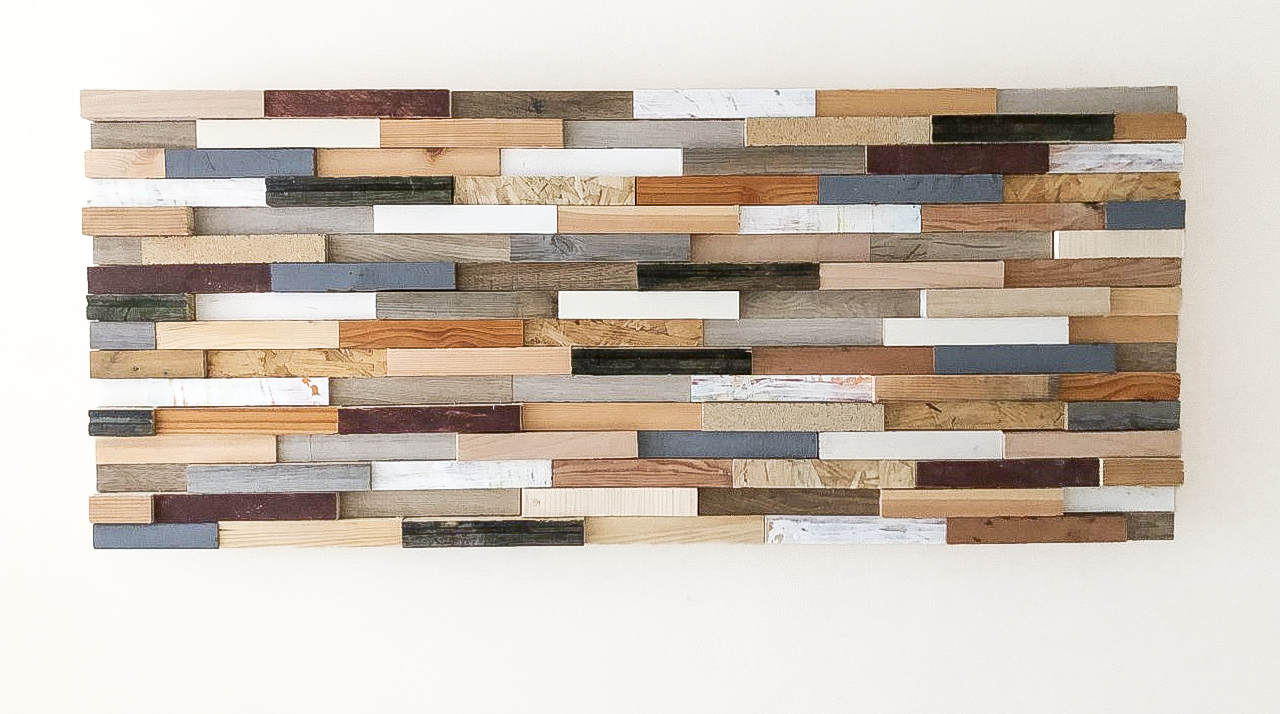
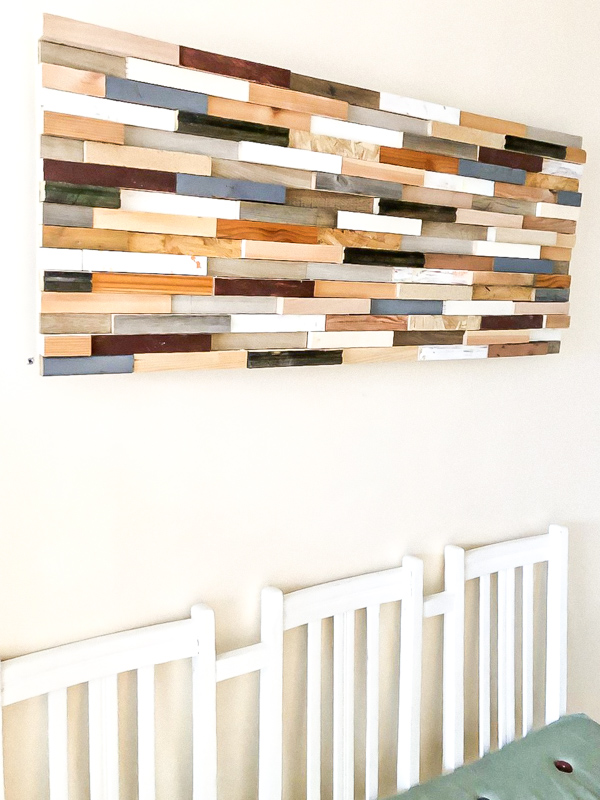
My husband made this wall art to hang above our bench seat in the hallway. Playing with texture and colour this wood wall art fits the space perfectly.
Jared has made a few wall art hangings in the last year out of pallet wood and scrap wood, often when I have not been around to take photographs! Wood wall art creation is great fun, the only downside during lockdown (and endless time) is just how quickly a project can be made!!
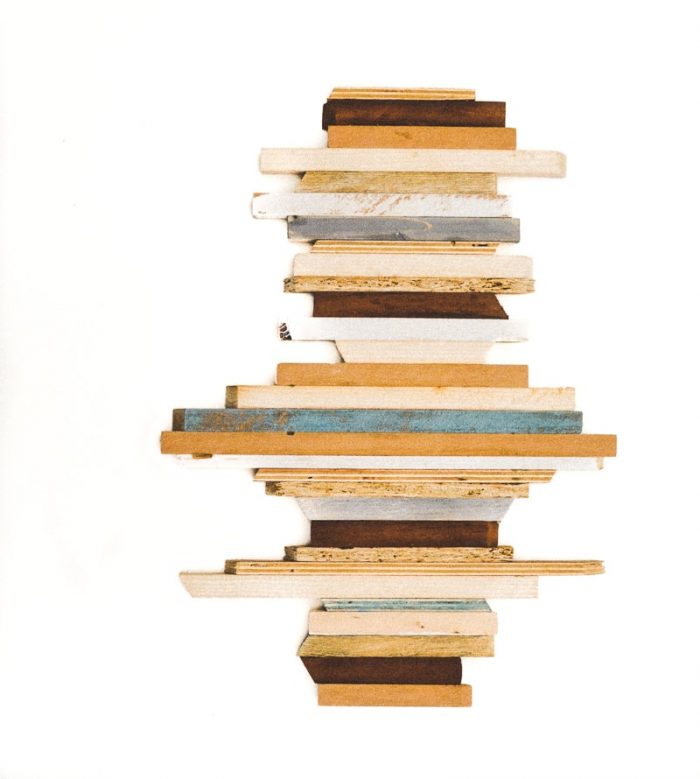
Last January he made this vertical piece. You can find the tutorial for this DIY wood wall art.
As you can see this new piece of wall art has a very similar pallet of colours, but you can easily add colours to suit your decor.

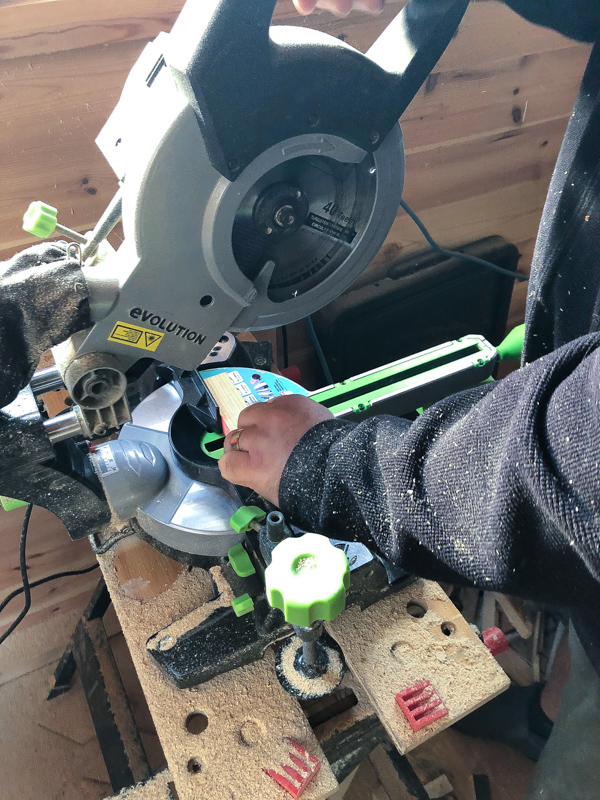
To make this particular scrap wood wall art he started off by cutting lots of pieces of different woods to the same size 1 1/8 by 17 1/8″,with avariety of different depths. His table saw and sliding mitre saw was extremely useful for this.
Layout your pieces on a backing board as you can see we have used plyboard as that’s what we had! Play around the design, until you are satisfied with the colours and textures. Cut your backing board to the desired size.
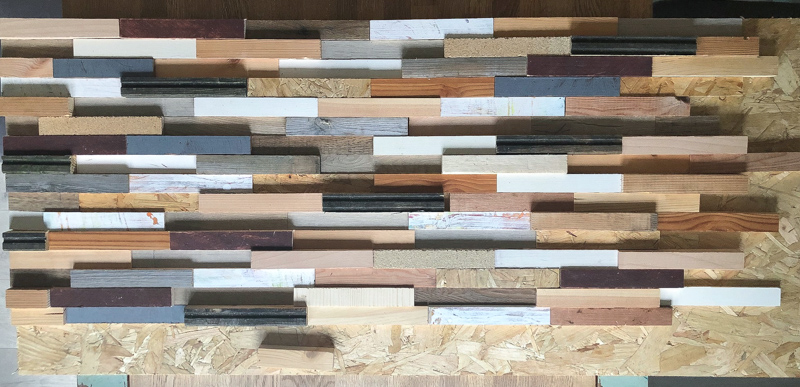
Once you are happy with your design, fill in the ends so you have straight edges.

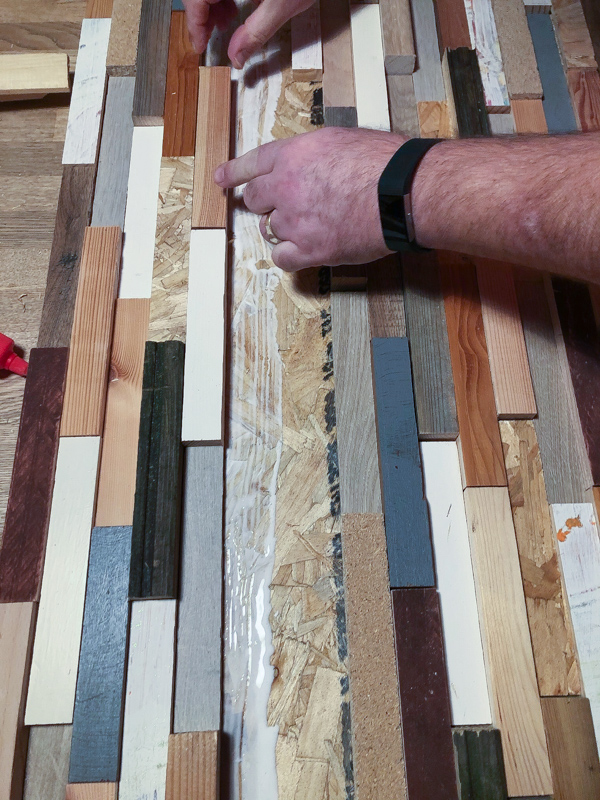
Sand your blocks and then glue in position with wood glue.
Once your piece is fully dry turn it over. On the back screw in two pieces of battening, these are to mount your scrap wood wall art.
This wall art is heavy!! Place a piece of battening next to the battening on the back of the art, then predrill holes between.

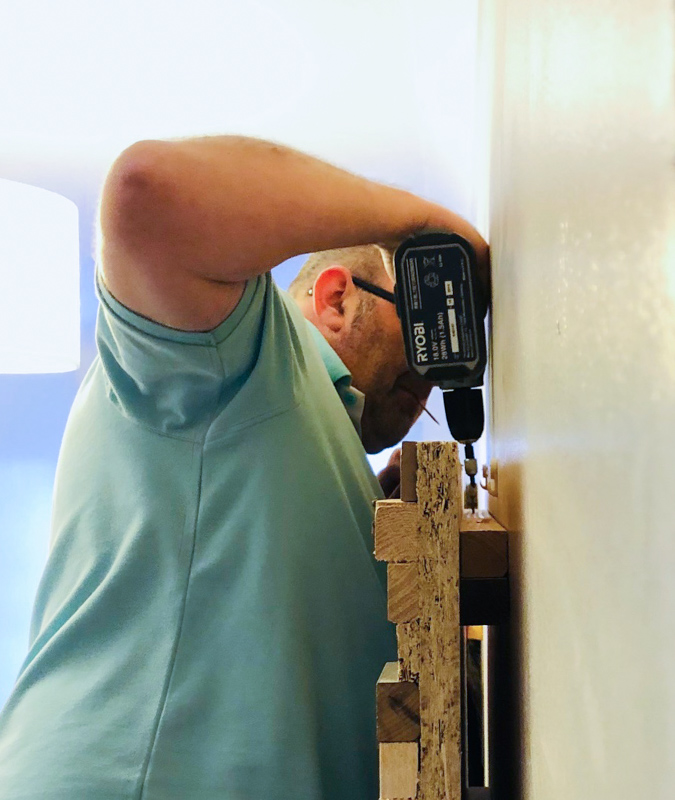
Mount the loose piece of battening onto the wall, we used a spirit level to ensure it was straight. We marked the wall and then used raw plugs before screwing this battening to the wall.

Then place your art onto the wall so the battening on the back of the wall art rest on top of the wall mounted battening. Then screw together from above.
I admit this is a very secure way of wall mounting the DIY Scrap wood art, we know it is not going to fall on anyone’s head when they sit on the bench seat putting shoes on!

I made this bench seat out of dining room chairs a few years back, I still love it!
