
There is something beautiful about rust dyed fabric, the results are unique, different each time. You can create semi-regular patterns using rusty nails in a circular formation, or how about washers laid out? Personally, I like a random pattern. Some months back I had fun experimenting with creating rust dyed fabric, you read more about that here.

But having made the rust fabric the thought is what to make with the fabric. Initially, my plans were to make a lampshade cover with the rust fabric embellished with hand stitching – but the light shone through showing the thread in the back of the fabric as well as the front, this was not the effect I was looking for. However light from behind the rust fabric shows the various subtle marks.


How to make a fabric lampshade cover
This post contains Amazon affiliate links for your convenience. Click here to see my disclosure policy.
- Old white or cream cotton duvet cover (use cotton or woven fabric)
- Rusty Nails
- White Vinegar
- Lampshade Kit
- Iron
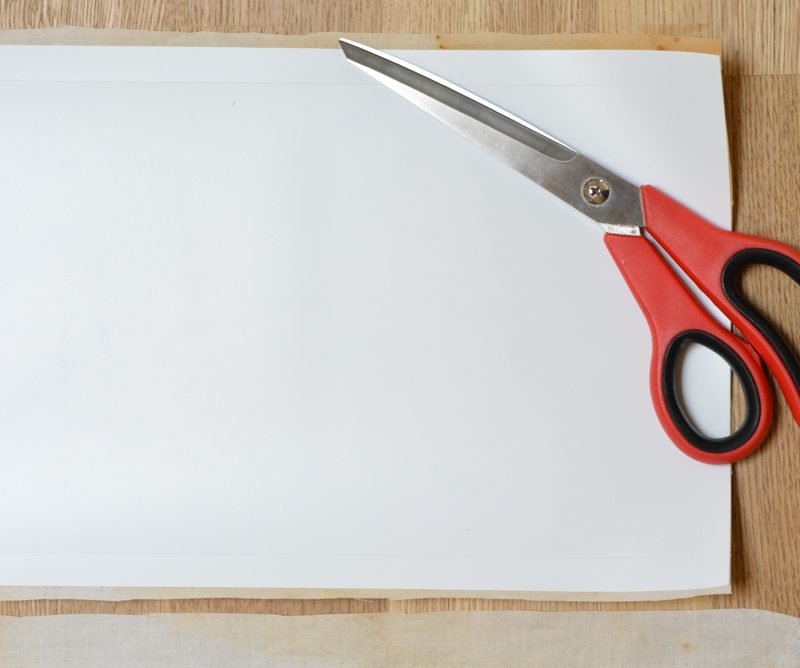
- Scissors

Cut out your fabric so it is a couple of centimetres wider all round than the backing in your lampshade kit.
Mix a solution of 50% white vinegar and 50% water. Soak your fabric in the solution so it is evenly covered.

Place your fabric on top of some plastic outdoors. The plastic prevents the fabric picking up any dirt from the surface below. Position rusty items in a pleasing design onto the fabric. Where the rust touches the fabric a pattern will be formed. Leave outside for a minimum of a day, it may take longer for patterns to take (keep the fabric moist with the vinegar solution)

Remove the rusty items, then press your fabric. Ensure you remove any creases in the fabric.

Place the PVC roll along the wrong side of the fabric, white side facing. Gradually peel off the release paper, using your fist smooth the PVC down.

Trim your fabric to the PVC on the short sides, along the long edge trim allowing an extra millimetre of fabric. Snap along the crease mark, then pull off the PVC narrow strip being careful not to fray your fabric.
Place double sided tape (from your kit) along one short edge of the PVC.

Place double sided tape along the outside edge of the two metal rings. Press tightly and evenly around the metal rings, peeling off the release paper.

Position your rings on the edge of the PVC, gradually roll so your fabric adheres all round the two circular hoops.

When you reach the overlap press the double sided tape and join the seam.

Snip the fabric where it covers the struts on the utility ring. This will enable you to fold it over.

Pull the fabric tight and fold into the inside of the lampshade, pressing against the double-sided tape. Use the finishing tool from your kit to press the fabric behind the ring.

The result of a subtle hand designed and made fabric lampshade.
I am curious, what would you make with rust dyed fabric?? I am contemplating small abstract applique pieces, embellished with stitching, as wall art.

.
Judith
Monday 12th of March 2018
Love this! Not sure if I could convince my OH though....;-)
Louisa
Sunday 11th of February 2018
Your lampshade is great. It would look amazing in an industrial styled room or as a large piece of wall art #handmademonday