
I Last weekend my husband came home with a “project” for me, along with the question do you hate me? Definitely not!!! I’m quite fond of a project:)
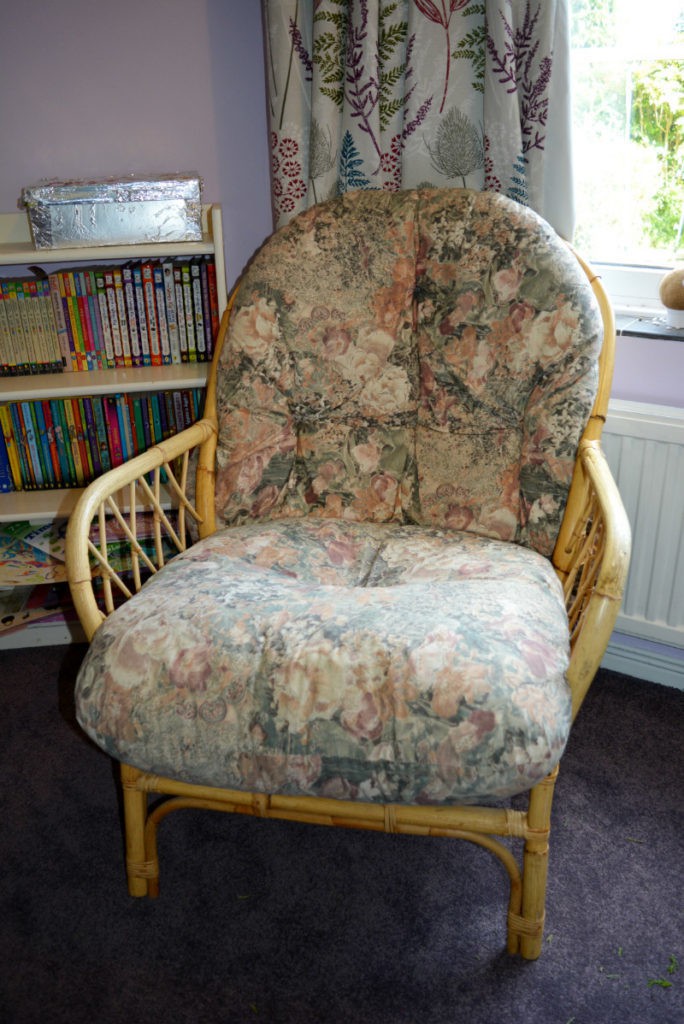
He and our daughter had found this worn out wicker chair and decided it was perfect for her bedroom – she finds it super comfy. She was keen to help transform the chair so she can have a cosy reading corner in her bedroom.
It certainly needs a bit of care.

We decided I would recover the cushions and we would paint it together.
I had a pile of purple themed upholstery fabrics in my stash. Originally bought from ebay to transform a chair in the living room I chickened out due to the brightness! My daughter had no reservations about the colour of the fabrics..

The original plan was to take the existing covers off and use them as a template, however when I cut open a seam I realised they was no internal lining for the polyester stuffing.

To create your own teen reading chair you will need a chair, upholstery fabric and spray paint.
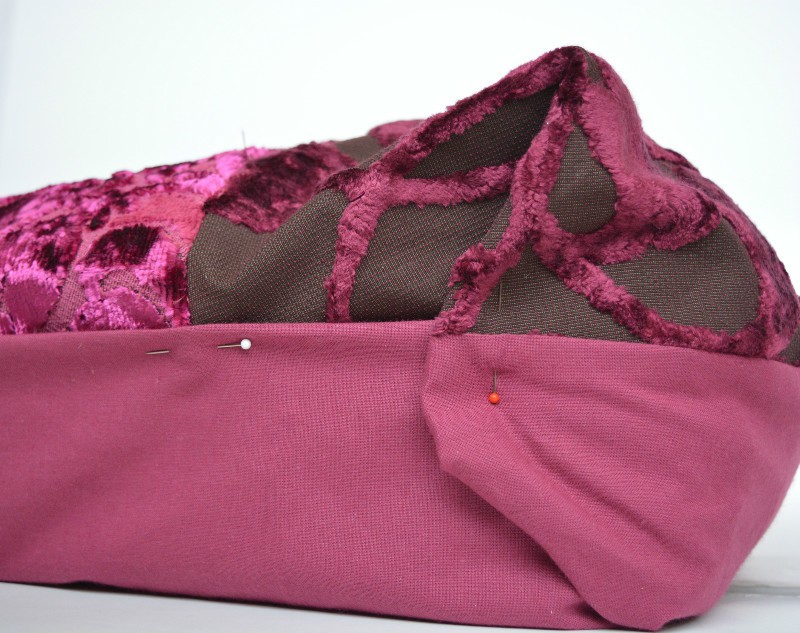
To make your template place the cushion on top of a plain fabric for the back of the cushion and cut round – ensuring you add additional width to allow for the depth of the cushion.

Use this base fabric as the template for the front cover. Lay out pieces of fabric in a random patchwork effect.

Gradually piece them together. Once you have completed the front create the cover by putting right sides together and sewing up – ensure you allow an adequate turning gap. Place your cushion inside the new cover and ladder stitch the turning gap closed. At the corners turn in, and hand stitch into place – this is as per the original covers.
The final step was choosing fabric to cover buttons.
My daughter chose the paler matt fabric which gives a nice contrast.

Have you covered buttons before? Its ever so simple, the self cover buttons come with a template so you know what size to cut your fabric. Stitch running stitch round the outside of the fabric, then gather up with your button placed inside. Place the back on the button – quick and easy:)

Perseverance and a long needle are required to sew the buttons in place!
Next up the chair itself – I rebound the loose parts of the cane.

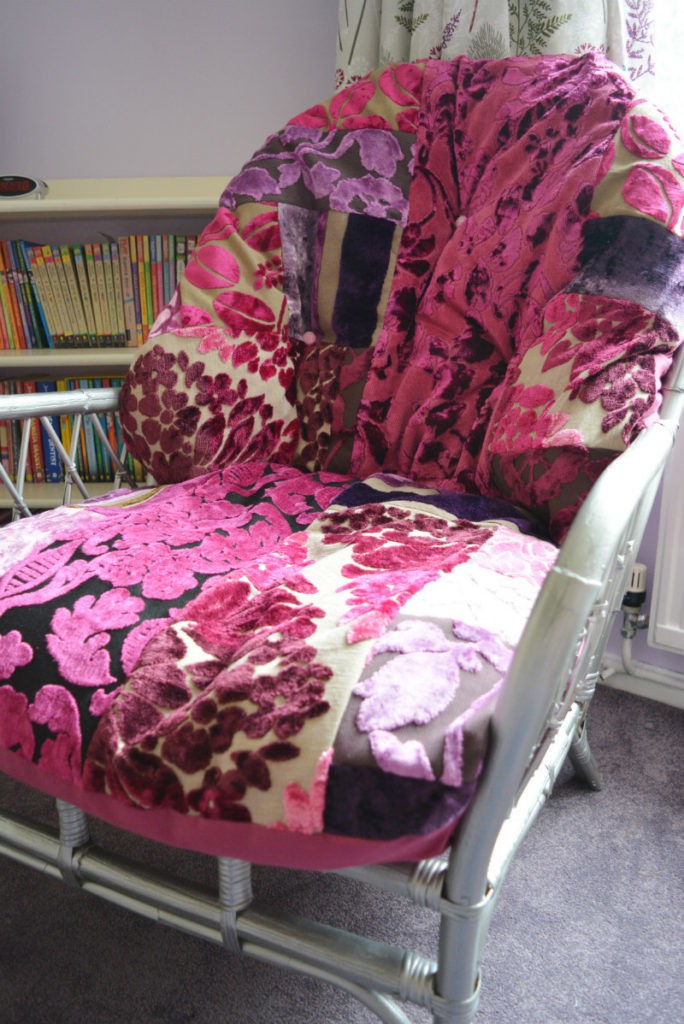
Then we spray painted it – we used primer in thin payers, and finished with a metallic coat. Personally I loved the grey matt, but this chair is for a nine year old after all!!

Are we pleased with the result? Of course we are!!
Will you be so brave with colours and fabrics?

This post is linked up here:
Alex
Tuesday 19th of March 2019
The new look is more elegant than the old one and you are really an artist, I am also thinking to experiment with one of chairs and sofas, wish me best of luck xx
Annie B
Sunday 26th of June 2016
What a fabulous update. So bright and cheerful.
Gina
Thursday 9th of June 2016
Wow I love the colours. The brighter the better for me! You've done a great job transforming that chair. Thank you for sharing on #ThriftyThursday
Stewart @ Rubbish Please
Monday 6th of June 2016
Nice wicker chair transformation, Vicky ! The metallic coat finish gives the desired effect of looking expensive, fancy and unique. Some might even think it is metal !
Debrashoppeno5
Monday 6th of June 2016
What a lovely transformation of a curbside chair. I love the material you used and I am sure your daugther is thrilled to have helped restore this curbside treasure.