
I have to admit I have always fancied turning a drawer into shelves – I think they look super cool. So the opportunity to create a drawer shelf DIY tutorial for a magazine article was perfect. The bathroom can be a little bland, a drawer shelf can provide a spot of colour plus a focus point. Transforming a drawer gives you flexible storage, simply choose a draw that fits your space. Line with a fun wallpaper.

But drawer shelves are not just for the bathroom, a repurposed drawer shelf can be used anywhere, here’s mine in the garden when we first moved house.


Drawer Shelf DIY
- Rustoleum Chalk Paint
- Old bedside table or drawer
- Wallpaper sample
- PVA glue
- Rustoleum Wax
- Screwdriver
- Sugar soap and cloth
- Paint brush
- Scissors
- Smaller roller set
- Lint free cloth
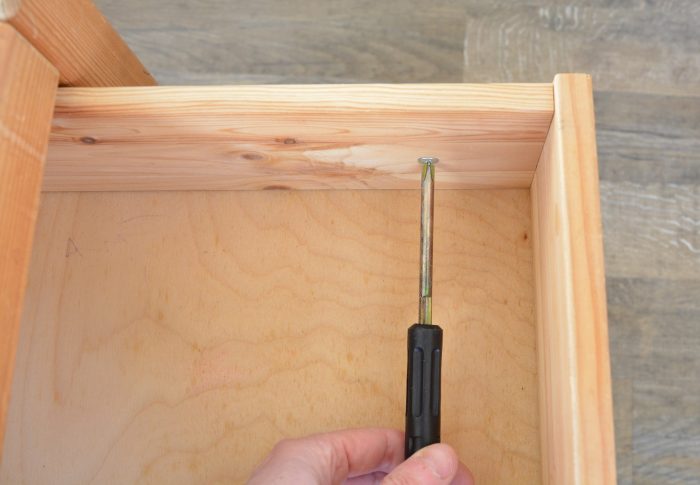
Prepare your drawer, to remove from a bedside table you may need to remove the screws attaching the drawer runners. Remove drawer handle. Clean the draw with sugar soap.
Cut a piece of wood to create a shelf – measure the internal width and depth of the draw. Saw a piece of wood to the appropriate size. Sand the edges.

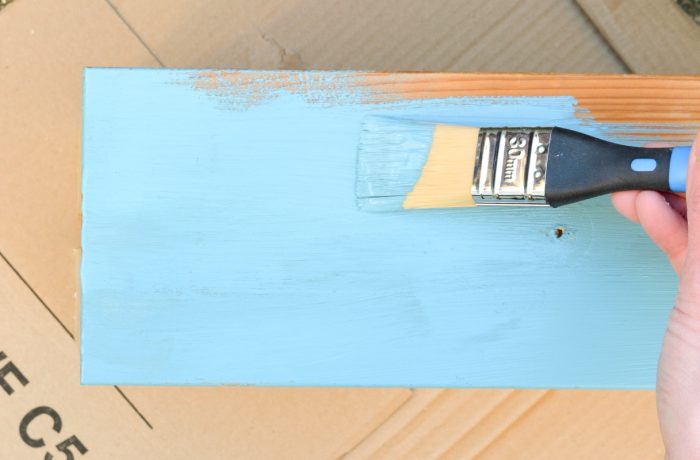
Paint the drawer and shelf with chalk paint, use brush strokes in the direction of the panels. Allow to fully dry, Rustoleum recommends 4 hours. Add a second coat.
 Place your drawer on the back of your wallpaper, draw around the draw using it as a template for the wallpaper. Cut out your wallpaper, place inside the drawer and finger crease along the edges. Cut along the creases.
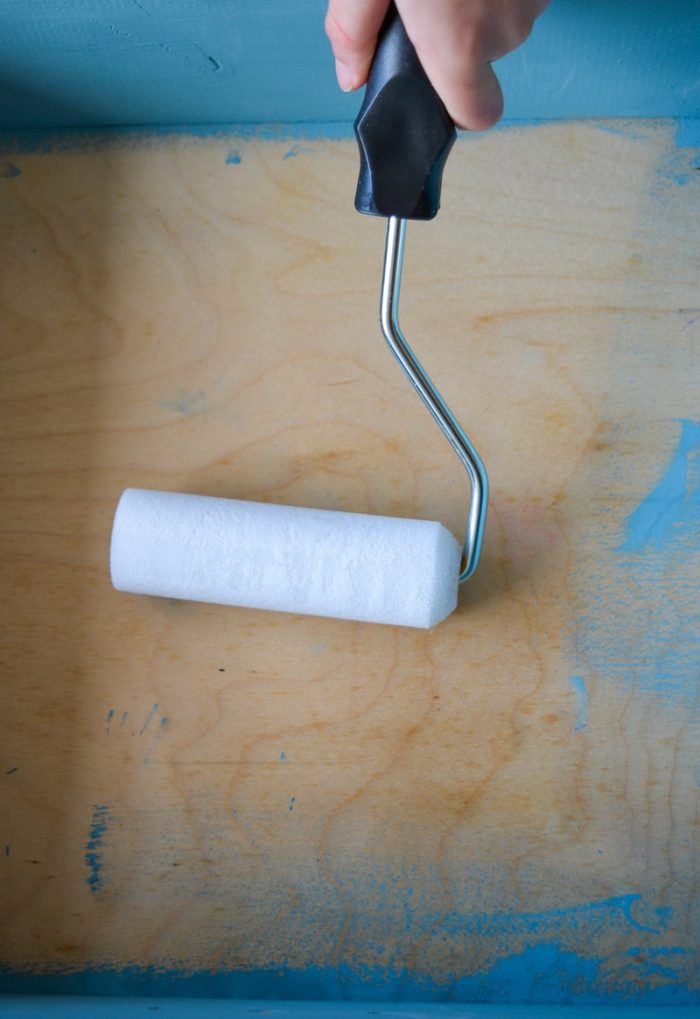
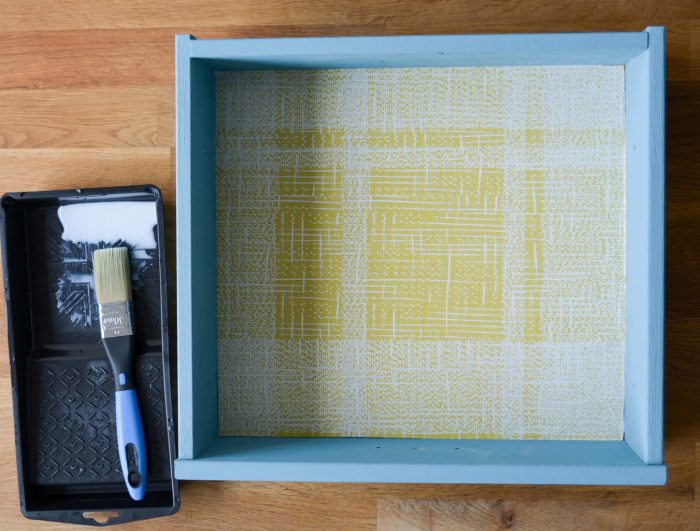
Apply PVA to your clean base of the drawer. This must be super clean, any spots of paint etc will show through the wallpaper. It is important to have an even coat of PVA to prevent ridges and air bubbles. I used a roller for the middle, and a paint brush around the edges.
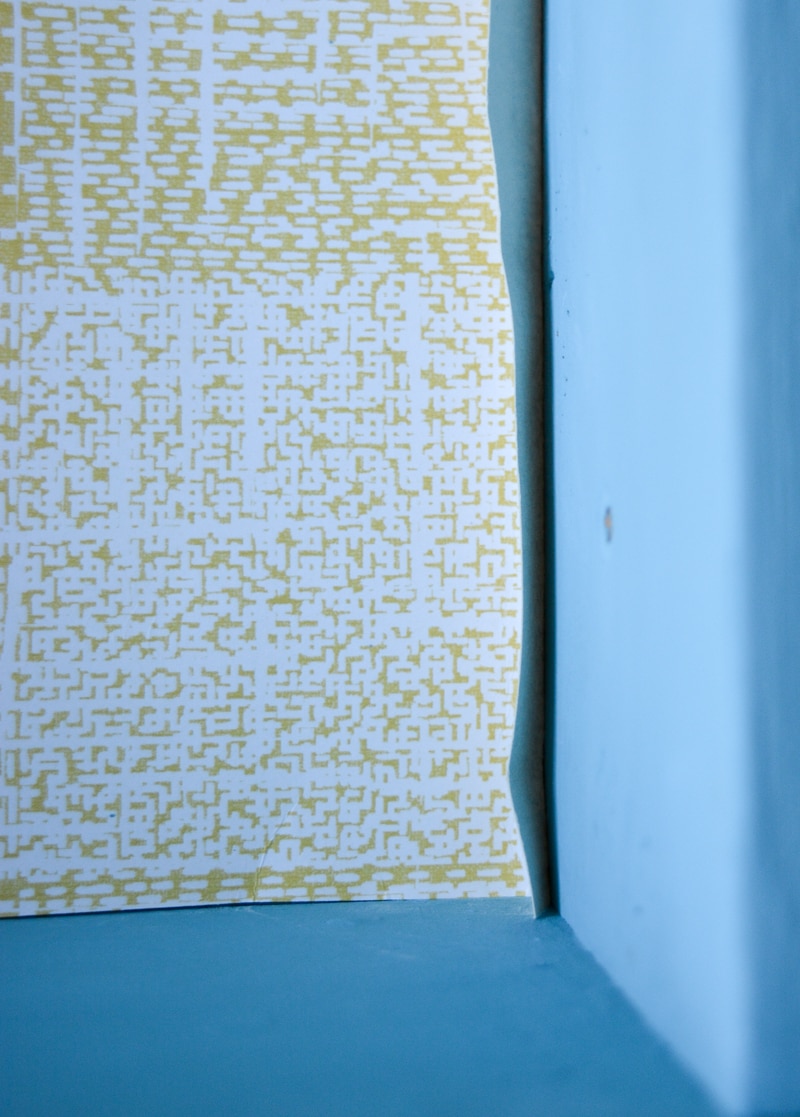
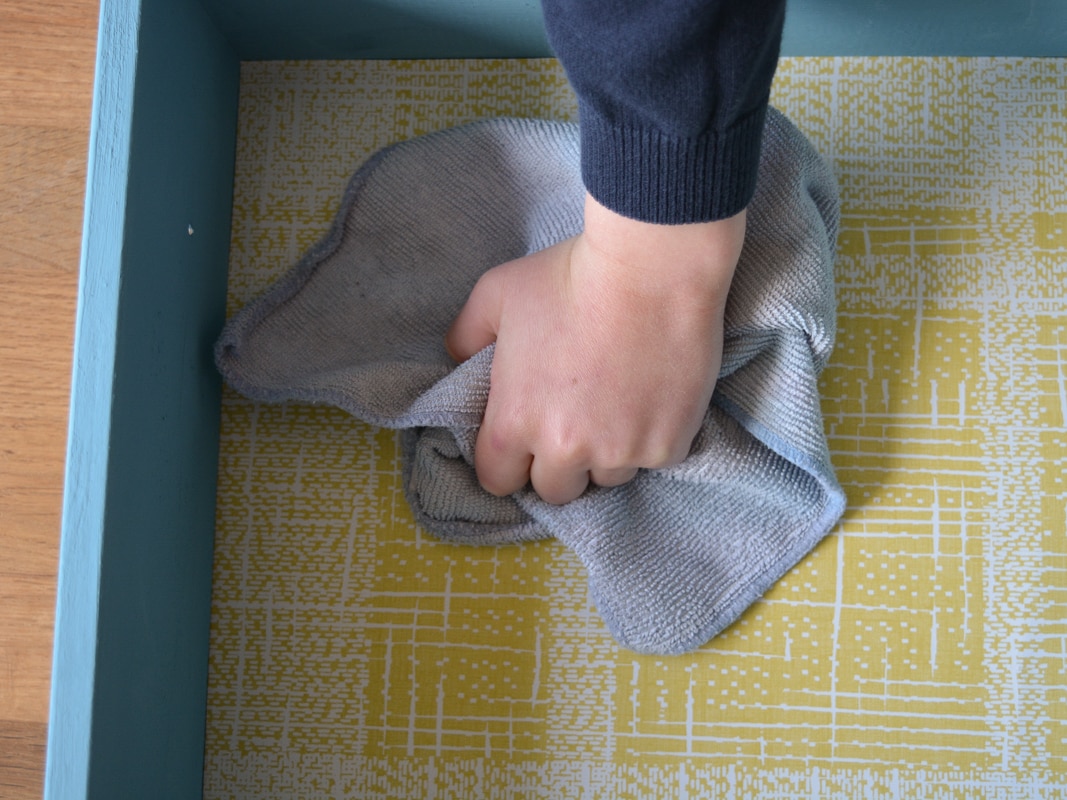
Place the wallpaper on top working from left to right, ensure you work out all the bubbles. With clean hands use a damp rag to work the surface of the wallpaper, smoothing out any bubbles.
Once fully dry apply a thin coat of PVA with a brush to seal and protect the wallpaper.
Measure the down the sides from the top, mark holes for pins to hold shelf. Ensure you have accurate measurements both sides of the drawer. Drill two small pilot holes each side. Place shelf in the drawer, align with your pilot holes and double check shelf is level. Using tacks nail shelf into place.

Screw your painted draw knob back in place. Using a white lint free cloth wax the chalk paint to finish the bathroom shelving unit.

When I initially made this project for Reloved magazine we were living at my father -in -laws, now we are in our own place it hangs pride of place in my sewing room, holding my overlocker threads.

As you can see I also have wine crates for jam jars of buttons and a printers tray for my sewing threads. Read more about the printers tray here. I plan on sharing more of my sewing room with over the coming weeks, stay tuned.
Why not sign up for the newsletter so you don’t miss a post, plus you gain access to the free resource library which includes a top tip sheet for using chalk paint.
[mailerlite_form form_id=1]
As the summer holidays are kicking in with force here in the UK I am hoping for chances to be creative with my children,
